Wednesday, March 19, 2014

Cabinet Details


Bolted the cabinets to the walls:


and bolted the tops to the cabinets


Wiring up the solar panels

The solar panels are wired in parallel, so they provide 12v but the more panels there are, the more current flows (if you wire them in series, you increase the voltage, not the current flow).  Parallel means positive-to-positive-to-positive, etc.  Of that, I'm positive.

To work with the MC4 connectors, which are great and snap together, you (I) will need Y connectors every time you want to splice another panel into the mix. Since I have 3 panels, I found the perfect 3-Way Y connector on Amazon:


One connector is male-to-3-female, the other is female-to-3-male.  Ahem.  You need one of each because each panel has a positive (male) and negative connector coming out of it.  So each panel plugs one wire into each of these 3-way connectors, and you have one pair coming out (the 1-side of each Y).  Easy as cake.

A couple of extensions (15') and a special MC4-to-bare-wire pigtail and you can hook the panels up to the charge controller, which basically keeps the voltage and current under control so it's less flaky when it interacts with the rest of the system. The extensions go through a hole cut in the side of the trailer (gulp) with a Blue Sea Systems Side Entry CableClam (which I never knew existed, but is clever for waterproofing a through hole for a cable with connectors on the ends) to make it waterproof.


Saturday, March 15, 2014

Solar

I decided to put solar panels on the roof of the trailer so it can charge the battery bank whenever it's sunny. I have all the components now but haven't started the installation because I'm trying to decide whether (and how) to make them tilt toward the sun, which makes them much more effective. Unfortunately, because the trailer is mobile, it could end up in any orientation relative to the sun, so the panels would have to have a pretty elaborate tilting mechanism. Or not -- I could just have one tilt direction for my own driveway, and figure that is the 80% case. Still thinking about that.

I bought RENOGY panels and boxes, through Amazon. They appear to be good quality, and the company was responsive. They are 100W panels and I bought 3 of them. As of today, Amazon has a kit with two panels for about $330. I added a single additional panel, and had to buy some Y connectors to wire them all in parallel, here on Amazon.


Electrical Panels

Continuing saga of electricity...

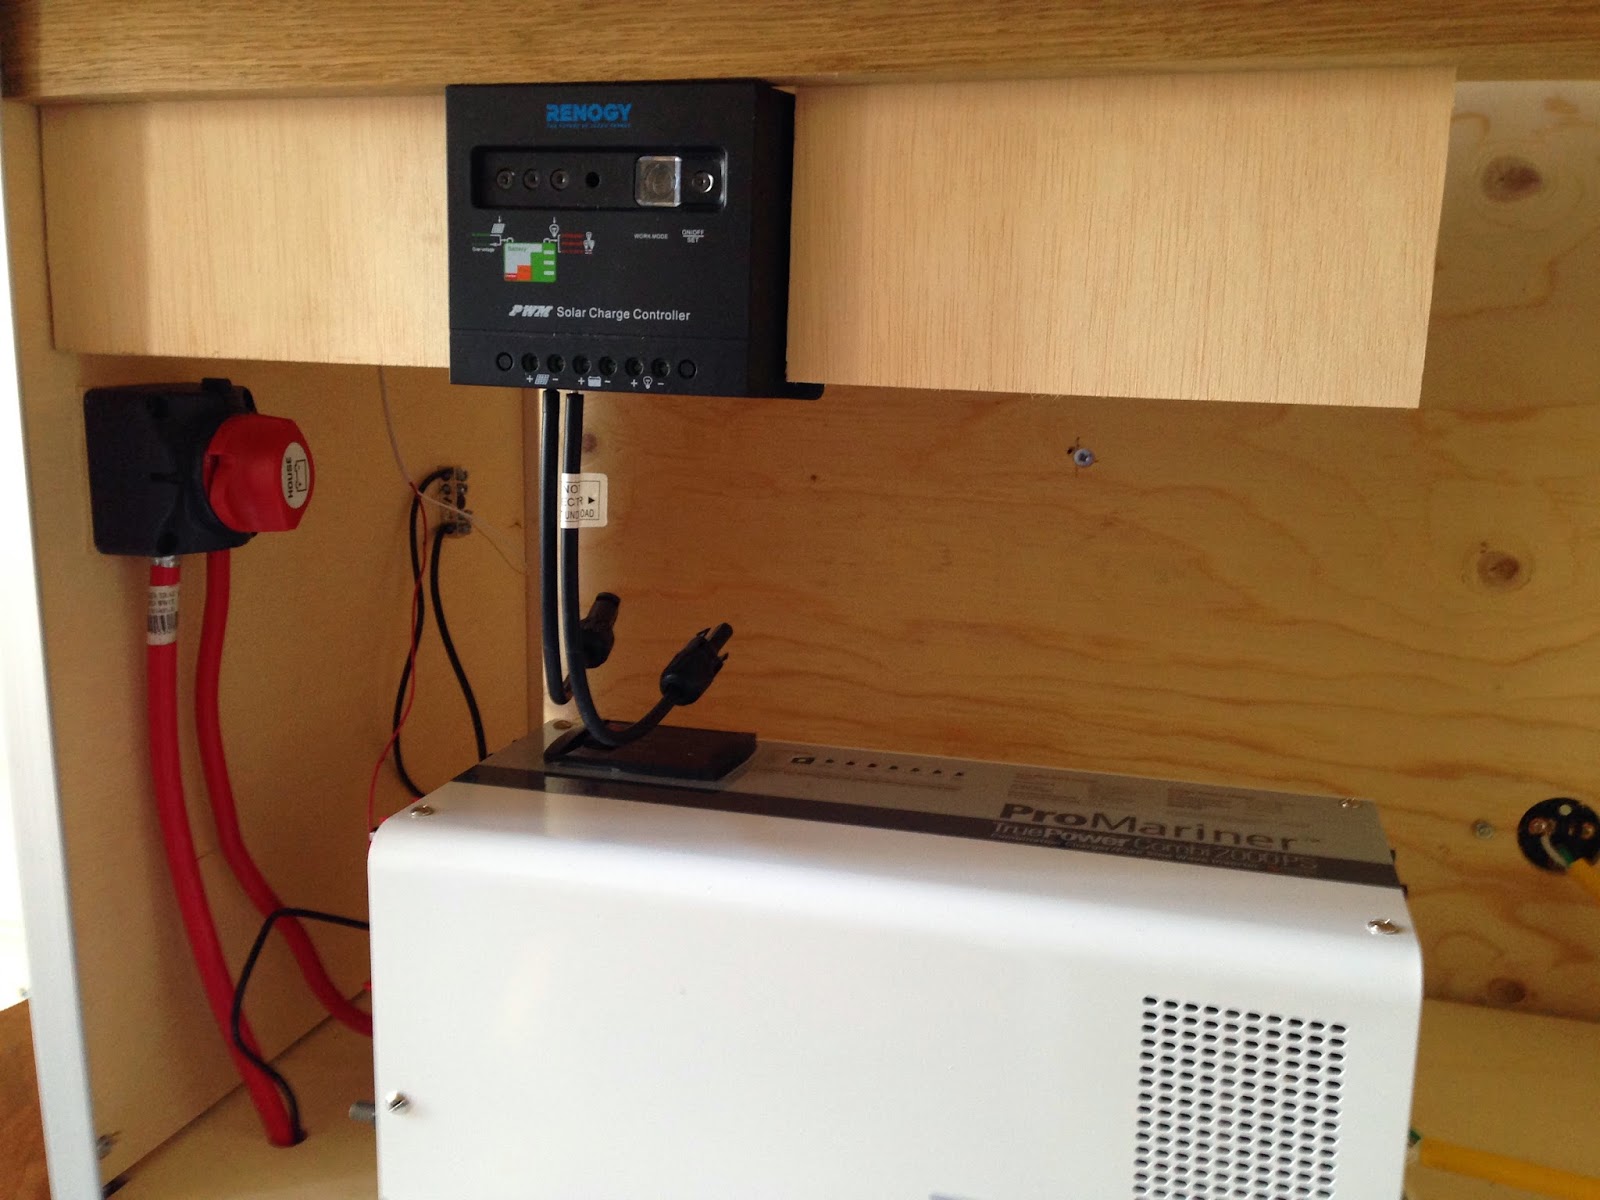
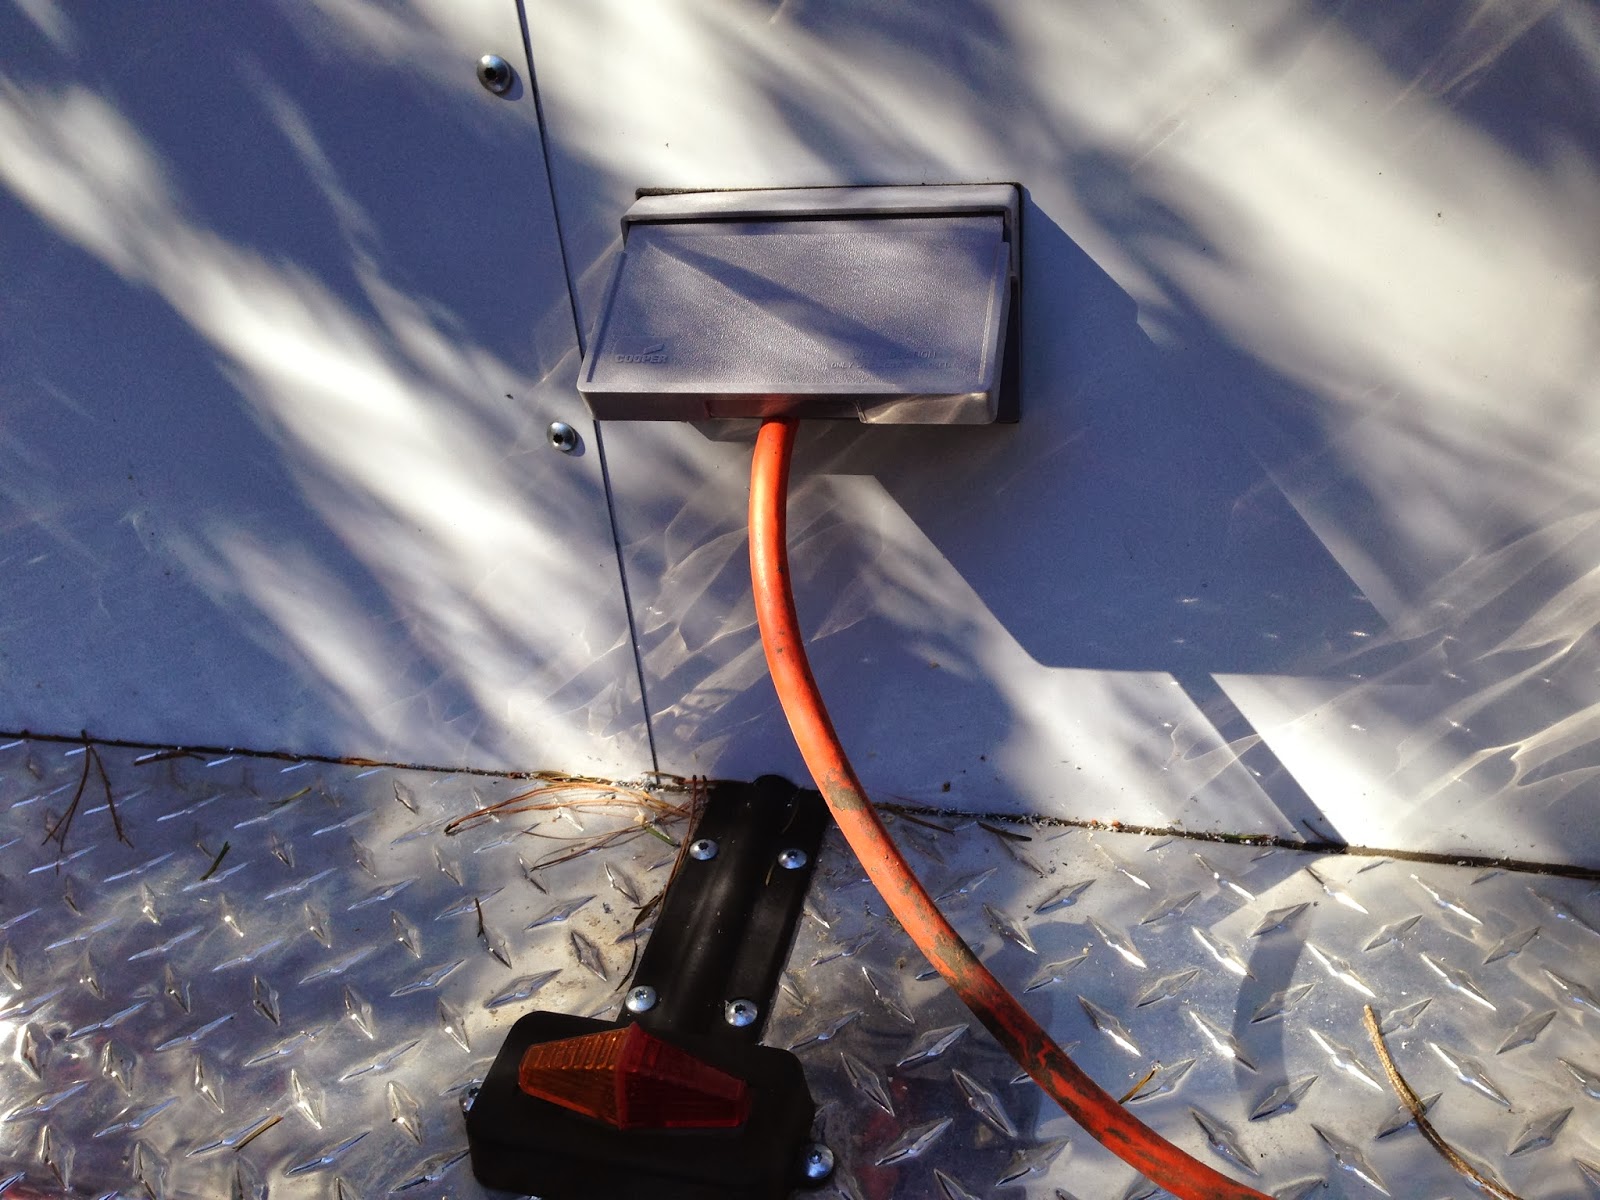
The battery banks are the primary source of electricity to the trailer, whether or  not it is hooked up to an input source like a power cord.  The batteries provide both DC power (directly, as they are DC 12v batteries) or AC power, through the inverter that converts it to household 115v AC.

The trailer will have two independent power networks, one 12v DC and one 115v AC.  There will be standard wall outlets for the AC power, and 12v receptacles (like in your car) for the DC, and maybe some built-in USB outlets, though the ones I've found so far are low amperage and the ubiquity of car chargers makes that less critical.

Since there are two power networks I have two breaker panels, both from Blue Sea Systems:


The DC panel is Blue Sea 8081, available from several online vendors.  The AC panel is Blue Sea 8043.

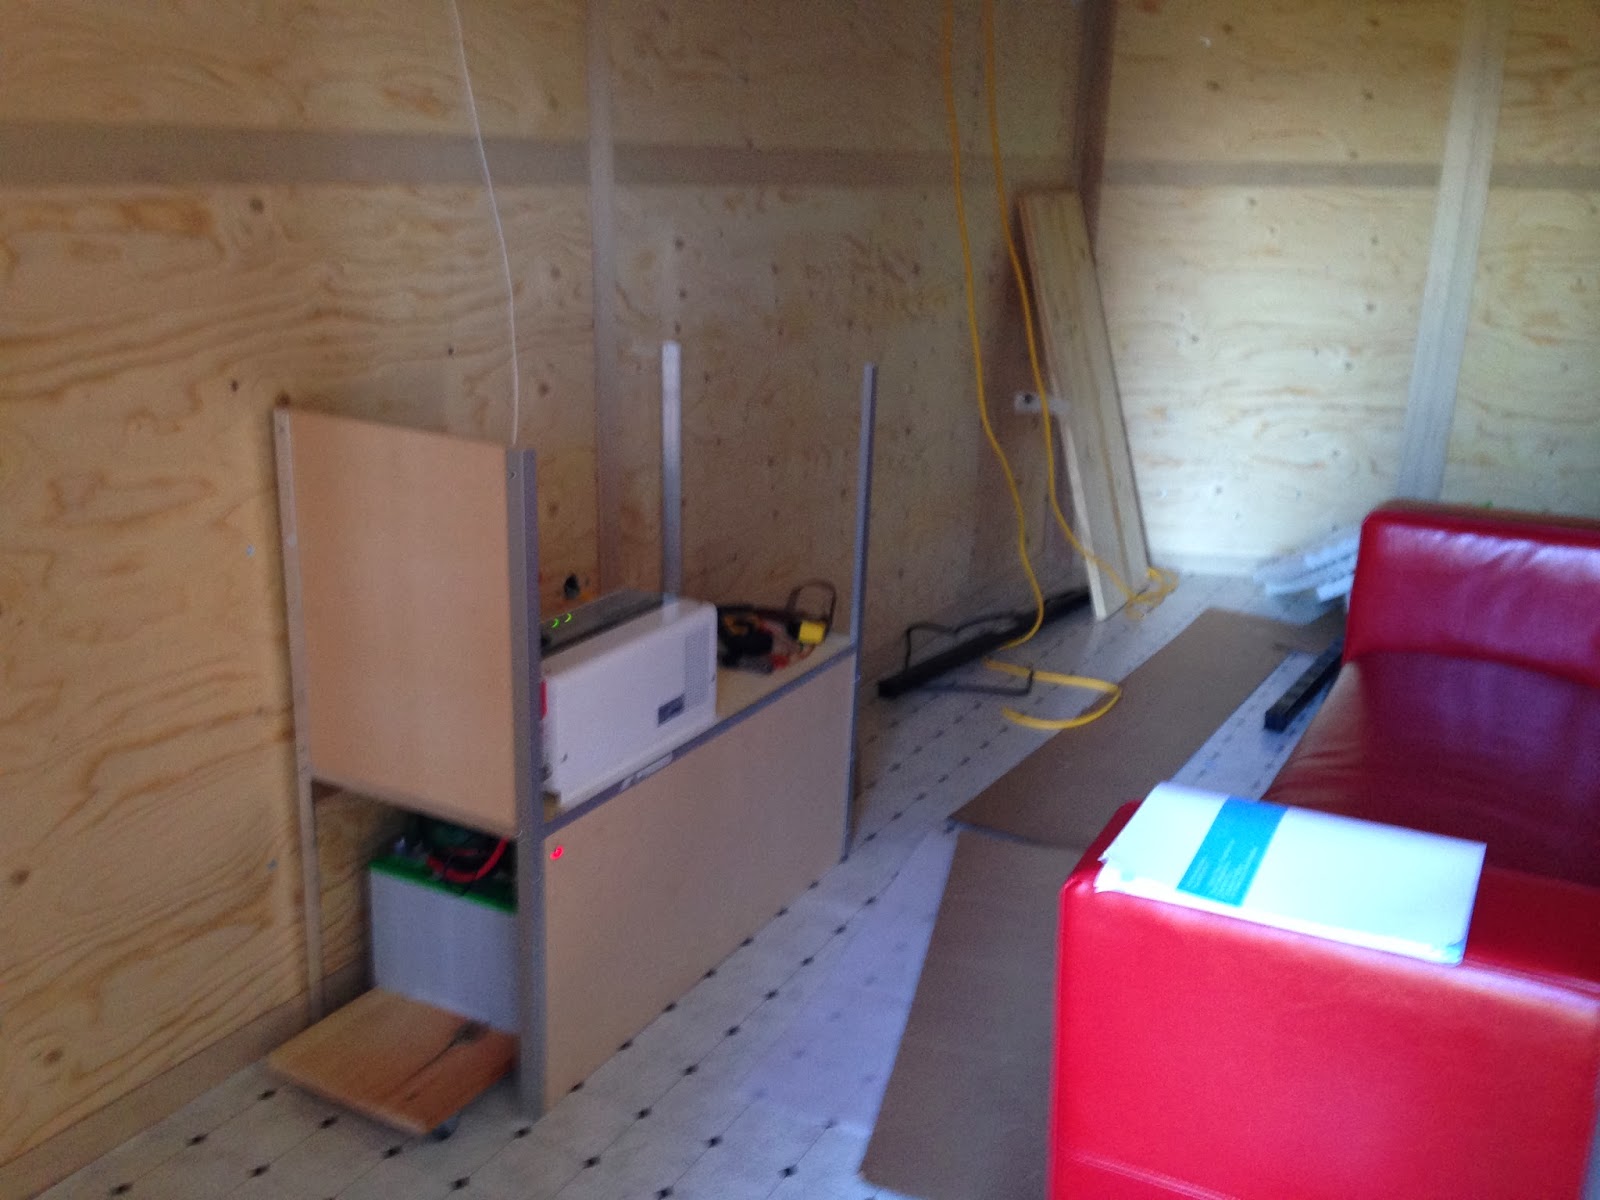
I mounted them through a piece of plywood that will be hinged so I can get behind it to work on the wiring as needed.


Voltage!  Live circuit!


The DC and AC are connected from the inverter box straight to these panels, then distributed to circuits in the trailer from there. Kind of like how it is in your house, only a little more complicated on the source side and there are two systems, not just one.

It gets more complicated as I add circuits and more stuff:


Wednesday, March 12, 2014

Curvy Workbench

The nose of the trailer has a shallow triangular point to it, and I decided to put a bench in the front there, but I wanted a more graceful front edge, so I decided on a sweeping curved design. It turned out great! I even used a block plane and a spokeshave to fine-tune it, which are tools rarely used nowadays.


Roughing In...

Most of the components like cabinets have arrived (UPS, freight, etc) so I am begining the rough assembly of the interior.  It's shaping up to be just like the 3D plan, which is good. I deliberately left a few of the details until this rough-in phase, so I could get a feel for where things should go, and the spatial relationships between things. There are no big surprises so far, which is good. A few small adjustments, like the electrical box/panel I switched left-for-right, because the inverter user interface would have faced the wall instead of the interior, had the box been on the right.

I am pretty happy with how it's coming together!  Lots of electrical wiring to do, and final placement of the cabinets and benches, but it's pretty close to what I want already.


"Shore Power"


I found a "reverse outlet" that had a male connector, for an extension cord from the house, and cut that into the side of the trailer to hook up the shore power connection.


Electrical Infrastructure

There is a lot to the electrical systems in the trailer. I will get to more of it later, but the basic concept is to mimic what is done on boats, where there is "shore power" and a bank of batteries when not connected to shore power.

Since the batteries are 12v and shore power is 115v, an inverter is required to scale up the 12v battery power to 115v to power "normal" household plug-in things, from power tools to computers.  Whenever possible I will use the 12v system directly (i.e. car chargers), because it is more efficient than converting up to 115v then back down to, say, 5v for a USB phone charger or computer power supply.

Shopping for an inverter took a while, because there are a lot of of them out there.  I decided that 2000w was enough for my purposes, though I wanted one bigger because I want more of everything.  I wanted one that would also charge the batteries and "pass through" the shore power when plugged into an outlet.

I chose a ProMariner 02012 True Sine Wave inverter, largely because of the pass-through and charger features, and because it seems to have good reviews and reputation.  I'm happy with it.


Monday, March 3, 2014

Planning...


I've been spending a lot of time in Sketchup, trying to plan out the interior, cabinets, electrical systems, etc.  Here is a rendering of the plan as it stands, give or take a few details: